FreeSince v1.0.0
The setup wizard
The first time you open Schedopia it runs a short wizard. It collects the minimum needed to take a booking — your business details, one service, one staff member, and your opening hours — so you finish with a working booking flow rather than an empty admin.
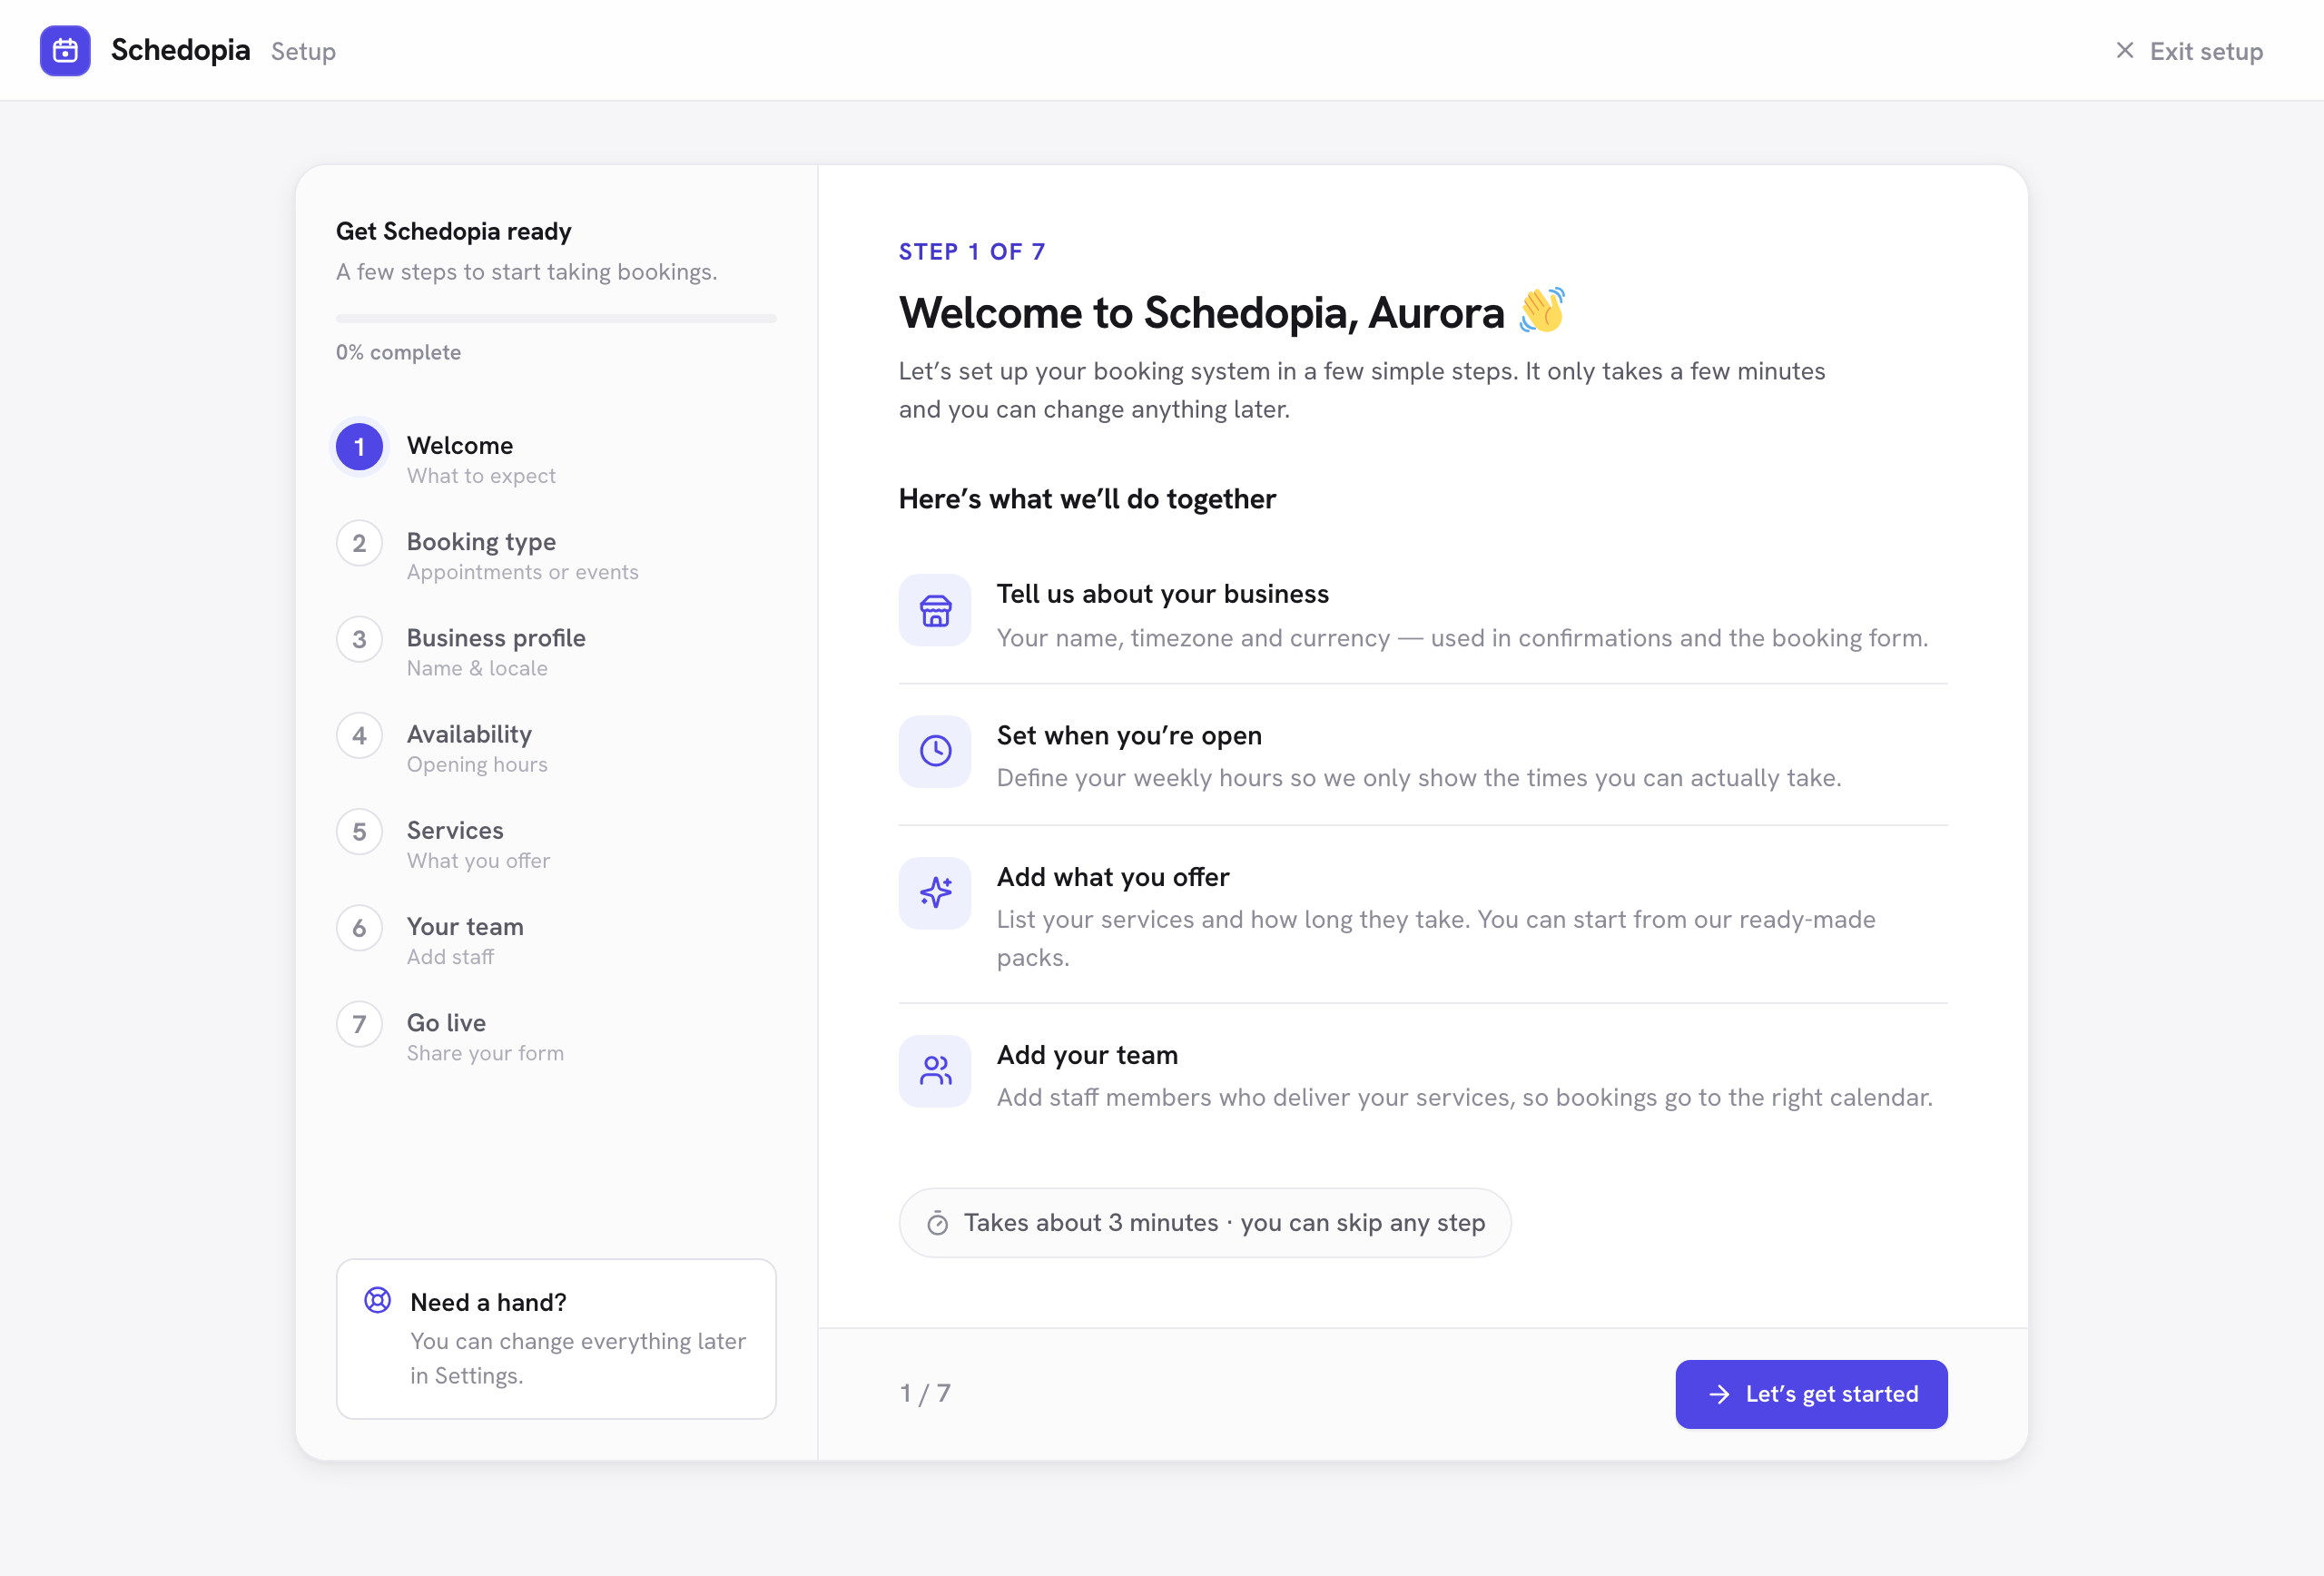
What it asks for
- Your business
Name, contact email, phone, address, timezone and currency. The timezone matters most — every booking time is interpreted against it. The currency is used for all prices and totals. - Your first service
What you sell, how long it takes, and what it costs. You can add the rest later on the Services screen. - Your first staff member
Who performs the service. Even a one-person business needs one staff record — availability is calculated per staff member, so bookings need someone to attach to. - Your opening hours
The days and times your business is open. These become the business default hours; individual staff can override them later on the Scheduling screen.
Appointments or events?
The first real question is what you take bookings for. Appointments — a service with a staff member at a time — leads to services, staff and opening hours. Events & seats — dated sessions where people reserve specific seats — leads to your venue, a hall and your first event instead. Nothing is locked in: you can switch, or run both, any time under Settings.
Skipping and re-running it
You can leave the wizard at any point and configure things directly from the admin screens instead — nothing it does is exclusive to the wizard. Once completed, it does not run again, and Schedopia opens on the dashboard from then on.
The one remaining step is putting the form on your site. Create a page, add the [schedopia_booking] shortcode, and publish — see Adding the booking form.
If you already have services and staff
The wizard is additive: anything you create in it is a normal service or staff record you can edit or delete afterwards. If you would rather set everything up by hand, work through the screens in this order:
- Settings → Business info — timezone and currency first, since everything else depends on them
- Services — and categories, if you want the form’s category filter
- Staff — and assign each staff member to the services they perform
- Scheduling — opening hours, then any per-staff overrides